
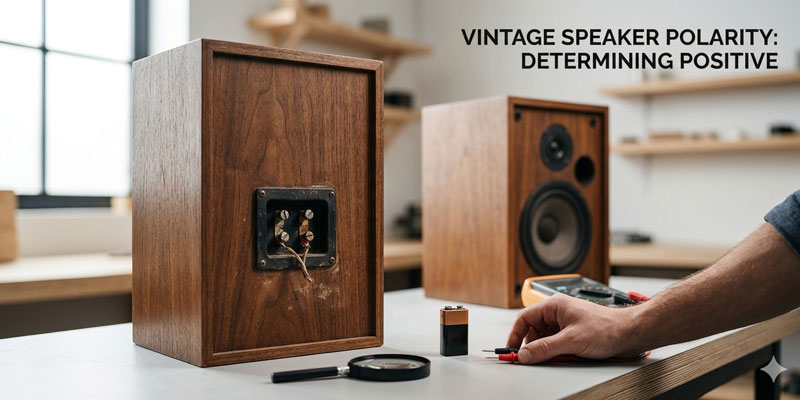
When working with vintage speakers, knowing which terminal is positive can be tricky—but it’s essential for getting the best sound out of your setup. If you connect the wires incorrectly, your speakers might sound weak or even cancel each other out.
You might be wondering, “How can I quickly and easily tell which terminal is positive on my vintage speakers? ” This guide will walk you through simple, reliable methods to identify the positive terminal—no guesswork needed. By the end, you’ll feel confident connecting your speakers the right way, ensuring every note sounds as crisp and clear as it should.
Keep reading to unlock the secrets of speaker polarity and take your vintage audio experience to the next level.
Identify Terminal Markings
Identifying the positive terminal on vintage speakers is essential for proper wiring. Terminals often have markings that help you spot the positive side. These markings vary but follow common patterns.
Careful observation of these signs ensures correct speaker connections. This section explains how to identify terminal markings easily.
Look For Plus And Minus Symbols
Many vintage speakers show a plus (+) or minus (–) symbol near terminals. The plus sign marks the positive terminal. The minus sign marks the negative terminal. These symbols are usually small but clear. Checking these symbols first saves time.
Check Color Codes On Wires
Wires connected to terminals often use color codes. Red or white wires usually mean positive. Black or gray wires usually mean negative. These colors help confirm terminal polarity quickly. Colors might fade on very old wires. Still, they offer a good starting point.
Inspect Physical Wire Markings
Sometimes wires have physical features to show polarity. One wire may have ridges, stripes, or text along its length. These marks identify the negative or positive side. For example, a smooth wire is positive, and a striped wire is negative. Check the wire carefully for these signs before connecting.
Use The Battery Test
The battery test is a simple way to find the positive terminal on vintage speakers. It uses a small battery to create a short pulse of current. This pulse causes the speaker cone to move. The direction of this movement shows which terminal is positive. This test is safe and easy for most vintage speakers.
Prepare A Small Battery
Use a 1.5-volt battery, like an AA or AAA. Make sure the battery is fresh and has enough power. Hold the battery carefully to avoid short circuits. Have wires or speaker leads ready to connect the battery to the terminals. Keep the setup steady to watch the cone move clearly.
Observe Speaker Cone Movement
Touch the battery’s positive end to one speaker terminal. Touch the negative end to the other terminal quickly. Watch the speaker cone closely. If the cone moves outward, the terminal connected to the battery’s positive end is the speaker’s positive terminal. If it moves inward, the polarity is reversed.
Confirm Positive Terminal
Repeat the test to be sure of your result. Mark the positive terminal with tape or a marker. This step helps maintain correct wiring in the future. Correct polarity ensures better sound quality and speaker performance. The battery test is quick and reliable for identifying terminals on vintage speakers.
Maintain Polarity Consistency
Maintaining polarity consistency is crucial when connecting vintage speakers. It ensures the sound quality stays clear and balanced. Incorrect polarity can cause speakers to work against each other. This leads to weak bass and poor audio performance. Keeping polarity consistent helps preserve the original sound experience that vintage speakers are known for.
Connect Wires Consistently
Always connect the positive terminal to the positive wire. Match the negative terminal with the negative wire. Use color codes to help: red usually means positive, black means negative. Keep this pattern for all speakers in your setup. This simple step avoids confusion and keeps sound signals correct.
Avoid Phase Cancellation
Phase cancellation happens when speakers are wired out of sync. This causes some sounds to cancel out. The result is thin or hollow audio. Check that all speakers push air in the same direction. Consistent polarity prevents this problem and keeps your audio full and rich.
Test Multiple Speakers Setup
Test your system after wiring multiple speakers. Play music with strong bass and listen carefully. If the bass sounds weak or uneven, check your wiring again. Adjust connections to ensure all speakers have the same polarity. Testing helps catch errors before they damage your audio gear.
FAQs: How to Tell Which Terminal is Positive on Vintage Speakers?
How To Tell Which Speaker Terminal Is Positive?
Identify the positive speaker terminal by a red color, “+” symbol, or a stripe on the wire. Use a battery test: if the speaker cone moves outward, that terminal is positive.
How To Know Which Terminal Is Positive?
Identify the positive terminal by looking for a “+” symbol or red color. Use the battery test: speaker cone moves outward means positive. Physical markings like stripes or ridges also help distinguish positive from negative terminals.
How Do You Tell If A Speaker Wire Is Positive Or Negative?
Identify positive speaker wire by red color, stripes, or “+” markings. Use the battery test: the cone moves outward means the positive wire.
Conclusion
Identifying the positive terminal on vintage speakers takes simple steps. Check for color codes like red or markings such as a plus sign. Using a small battery to see if the speaker cone moves outward helps confirm polarity. Keeping track of wire patterns or ridges also guides you.
Correct connections improve sound quality and prevent damage. With these tips, you can easily tell which terminal is positive. Enjoy clearer audio and better speaker performance every time.